Wire art daffodil greetings card
- Linda Jones
- Apr 10, 2023
- 3 min read
Originally posted: April 2017
I've always loved daffodils and with Spring in the air and Easter just around the corner, I thought I would combine both elements to design a motif for a greetings card!
Not only is the daffodil the national flower of Wales and the symbol of new beginnings and rebirth, but in various different cultures, it has similar uplifting meanings:
In China: it's the official symbol of their New Year and represents wealth and good fortune.
In Japan: it's the symbol of joy and happiness.
In France: the sign of hope.
In Arabian countries: it is believed to be an aphrodisiac and cure for baldness!
In the U.S.: it's the symbol for a 10th wedding anniversary and the March birth flower.
So, clinging to that note of positivity, let's get the wire and the pliers out! :-)

STEP 1
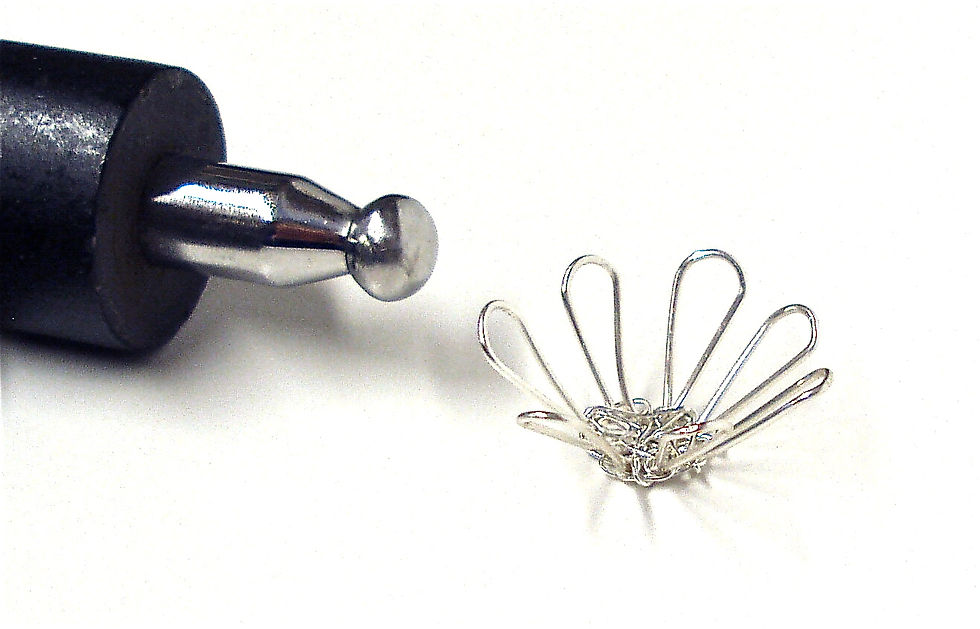
Working from a spool of 0.8mm wire, use the tips of your round nosed pliers, to create a small, circular link. Then, create 2 x rows of 7 (petal) loops (approximately 1"/2.5cm in height) as shown above: one with larger petals (1) and one with smaller (2).
*I used my 8mm bail-maker plier mandrel for (1) and my round nosed pliers for (2). Then cut from the spool, leaving a small tail.

STEP 2
Gently tease and separate the petals out and they will naturally form into a circular 'flower' shape. To secure the frame: thread the cut end through the small link and connect together.

STEP 3
Working on the smaller petal frame (2), cut about 8"/20cm of 0.4mm wire and use this to bind around the centre of the unit. Cut off any excess wire and neaten the ends.

STEP 4
Flatten the binding wires at the centre and using your fingers, lift the petals up to form a 'cup' shape (forming the trumpet- like centre of the flower). The dapping head of the Whammer hammer is ideal for shaping and tapping down the central part of the unit.

STEP 5
Use the tips of your round nosed pliers to curve each rounded end of the petals outwards, forming a turned 'lip at the very ends.

STEP 6
Take the larger petal frame (1) and shape each of the petals. This is done by squeezing the very ends of the loops with your flat nosed pliers (just enough to leave a small channel gap).
Then place your pliers within the gap of each loop and open them up to spread and shape. Follow this with a little more manipulation and adjustment of the wire to obtain an aesthetic petal-like shape. Repeat for all the 7 petals ...

STEP 7
Place the shaped petal unit on a steel block and hammer the edges of the petals to work harden and slightly flatten.

STEP 8
Cut about 8"/20cm of 0.4mm wire and use this to bind the centre of the unit together, wrapping it in between the base of each of the petals.

STEP 9
If you have left over 0.4mm wire from the wrapping, use this to thread on a yellow bead into the centre of the unit or, just add some more wire. Secure the bead in place and cut off any excess wire and neaten the ends at the back.

STEP 10
Cut about 12"/30cm of 0.8mm wire and secure one end into the back of the flower. Initially, bring the wire down to form the stem of the flower and back out, to shape one narrow leaf ...

STEP 11
Secure the wire around the base of the stem and form another thin, narrow leaf on the opposite side.

STEP 12
Secure any excess wire back around the base of the stem and create a spiral with the projecting wire, which can be flattened over the wraps.

STEP 13
To secure onto a piece of coloured card or paper, use a couple of pieces of 0.4mm wire to connect to the top and base of the flower, riveting and securing it through to the back of the card with a slither of sticky tape.

STEP 14
Finally, use double-side tape to attach the card to your main backing card and decorate as and where you wish!
You could also create the flower as a pendant on a chain and fix it to the front of a card, making a unified gift/card, all in one!
Below is a pendant version, in which I have woven 0.4mm wire into the petal spaces. (You could also fill the petals with yellow seed beads!)

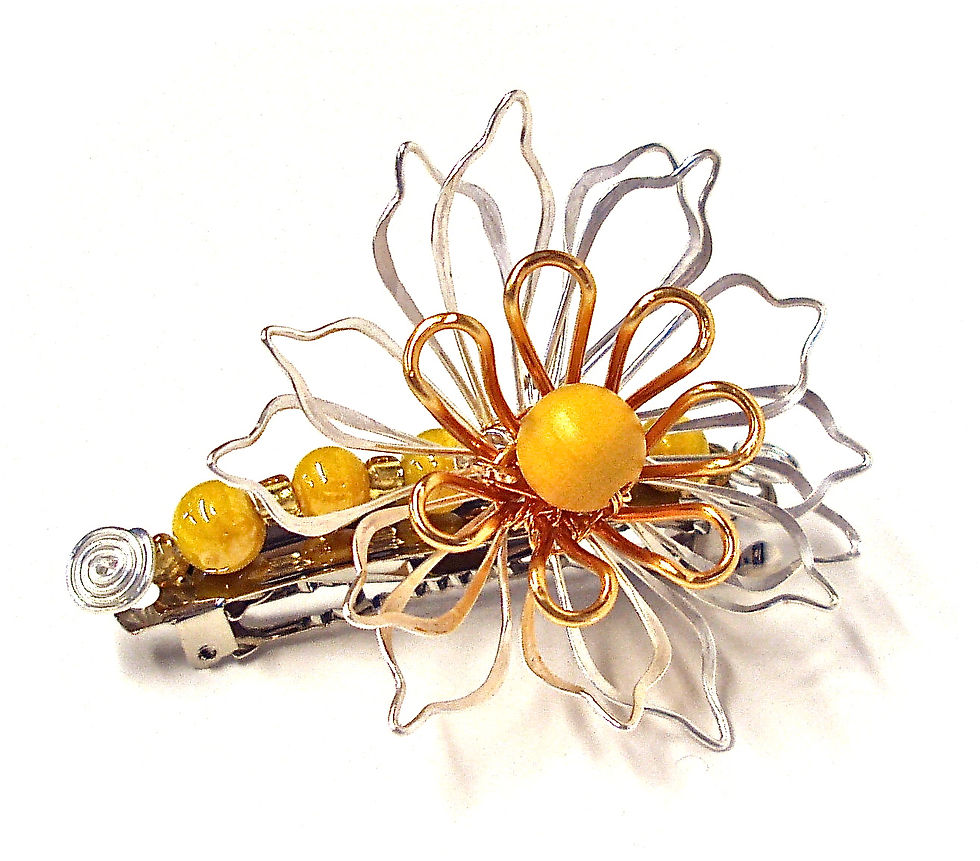
Or, why not create a hair grip decoration? The techniques are the same, just add your own flair and unique touch!

I hope you get some flower-power inspiration from this tutorial!
Happy WireWorking!!!
Learn more about my jewellery making workshops, watch my free video tutorials on jewellery making or get in touch to find out more.


Comments